Introduction: Creating a worm bin is a simple and eco-friendly way to recycle kitchen scraps and produce nutrient-rich compost for your garden. By following these step-by-step instructions, you can easily make your own worm bin and engage in the practice of vermicomposting.
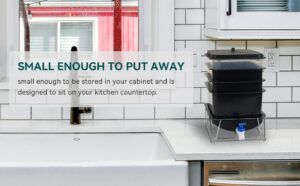
Select a Container
To start, choose a suitable container for your worm bin. A plastic storage bin or a wooden box with a lid works well. Ensure that the container is large enough to accommodate the number of worms you plan to have.
Prepare Ventilation and Drainage
Drill several small holes in the lid and sides of the container to provide proper airflow and ventilation. Additionally, create drainage holes near the bottom by drilling small holes or using a hot nail to puncture the container. This will prevent excess moisture buildup.
Create Bedding
Create a comfortable bedding environment for the worms by using shredded newspaper or cardboard. Soak the bedding material in water and then squeeze out the excess moisture. Fluff it up and fill the bin, leaving a few inches of space at the top.
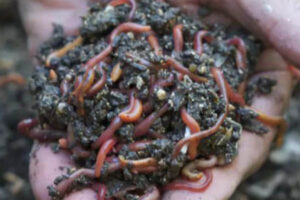
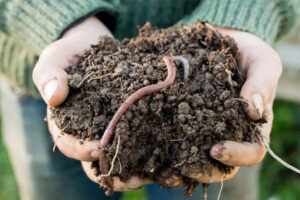
Introduce the Worms
Purchase red worms (Eisenia fetida) from a local supplier or online. Start with approximately one pound (around 500 worms) for a standard-sized worm bin. Gently place the worms on top of the bedding and allow them to settle in for a few days before feeding.
Feed the Worms
Begin feeding the worms with kitchen scraps such as fruit and vegetable peels, coffee grounds, tea bags, and crushed eggshells. Bury the food scraps in the bedding to prevent attracting pests. Avoid adding meat, dairy, oily food, and citrus fruits as they can harm the worms or cause odors.
Maintain the Bin
Keep the bedding moist but not waterlogged. Check the moisture level regularly and add water if necessary. If it becomes too wet, add dry bedding to absorb excess moisture. Place the lid on the bin to maintain darkness and regulate moisture levels. Avoid exposing the bin to direct sunlight or extreme temperatures.
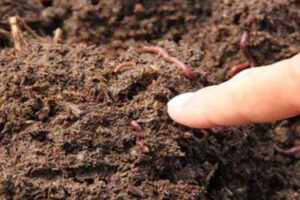
Harvest the Compost
After a few months, the worms will transform the organic waste into nutrient-rich compost. To harvest the compost, create a separation zone by pushing the contents of the bin to one side and adding fresh bedding and food to the other side. The worms will migrate towards the new food source, allowing you to collect the mature compost from the emptied side.
Conclusion: By following these step-by-step instructions, you can easily create your own worm bin and engage in the practice of vermicomposting. This eco-friendly method allows you to recycle kitchen scraps while producing nutrient-rich compost for your plants. Start your own worm bin today and contribute to a more sustainable and greener lifestyle. Happy vermicomposting!