Starting a worm farm business is a great plan, and usually, we choose suburban farms to carry out this farming plan. Before commencing worm farming, it’s important to understand the overall process of the project. For instance, what preparations are needed in each step.
How to choose a location for the worm farm?
Step 1:For small-scale worm farming, you can place it in your backyard, kitchen, or balcony. For larger-scale worm farming, you can set up on a chicken farm or in a dedicated space. Ensure that the temperature doesn’t expose the worms to extreme conditions. High temperatures can cause rapid dehydration in worms, leading to their death. Likewise, extremely cold temperatures can induce dormancy and hibernation, affecting their food intake and decomposition activity.
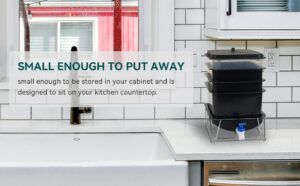
Step 2: Selecting worm bins. Small-capacity worm bins are suitable for home use, typically with capacities of 15L or 30L. Larger-capacity worm bins are suitable for chicken farms or larger setups. You can make your own worm bins using plastic containers or wooden boxes, making sure they have lids to prevent pests from entering.
Step 3: Adding bedding. Place the bedding at the bottom of the bin, which can consist of newspaper, cardboard, coconut coir, or a combination of these. Bedding provides a comfortable environment for the worms.
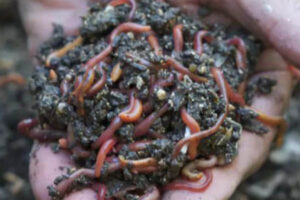
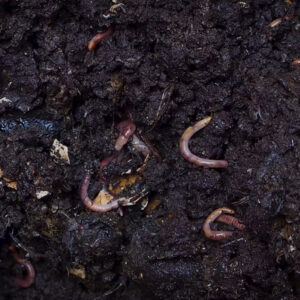
Step 4: Adding worms. You can purchase red worms, also known as red wigglers or Eisenia fetida, from wholesale worm channels. These are the most suitable worms for composting. Start with a few hundred worms and gradually increase their numbers as they reproduce. Five hundred worms require around 1.75 pounds of fruit and vegetable scraps weekly. Sprinkle sand on top of the food scraps and cover with shredded damp paper. Place the lid back on the tray. Remember not to overfeed the worms, as this can make them sick or cause deaths. Worms also consume shredded paper, coconut coir, and cardboard.
Step 5: Building up the bin. The bedding/bedpan/food scrap layer may reach the top of the container, and the tray will come out of the station, but don’t attempt to put it on the next tray. After a few months, the bedding in the first tray will settle and become more compact. Over time, worms will reduce the volume of these organic materials by 2/3 to 3/4 of the original volume. Occasionally, use a three-pronged hand-held garden cultivator to gently aerate the tray.
Step 6: Maintenance. As worm numbers increase, gradually increase the amount of worms and provide food weekly. If food from the previous week isn’t leftover, it’s time to increase the feeding amount and sprinkle sand on top of the feed. Don’t overfeed the worms, and always ensure exposed food is covered with a 2-4 inch layer.
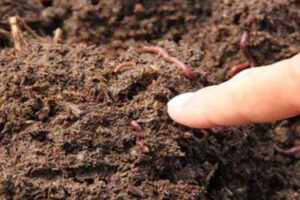
Step 7: Regularly turn the bin. About once a week, gently turn the bedding and food scraps with a fork or by hand. This helps distribute air and maintain an efficient composting process.
Step 8: Harvesting castings. Over time, worms will convert the scraps into nutrient-rich worm castings (worm compost). Harvest castings by pushing the contents of the bin to one side and adding fresh bedding and food scraps to the other. The worms will migrate to the fresh bedding, allowing you to collect castings.
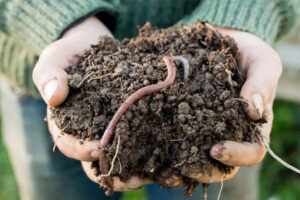
Step 9: Using castings. Use worm castings to enrich your garden soil, potting mix, or as a natural fertilizer for plants. They’re rich in nutrients and beneficial microorganisms.
Step 10: Step 10: Troubleshooting. Regularly monitor worm farms for odors, pests, or dry bedding.